


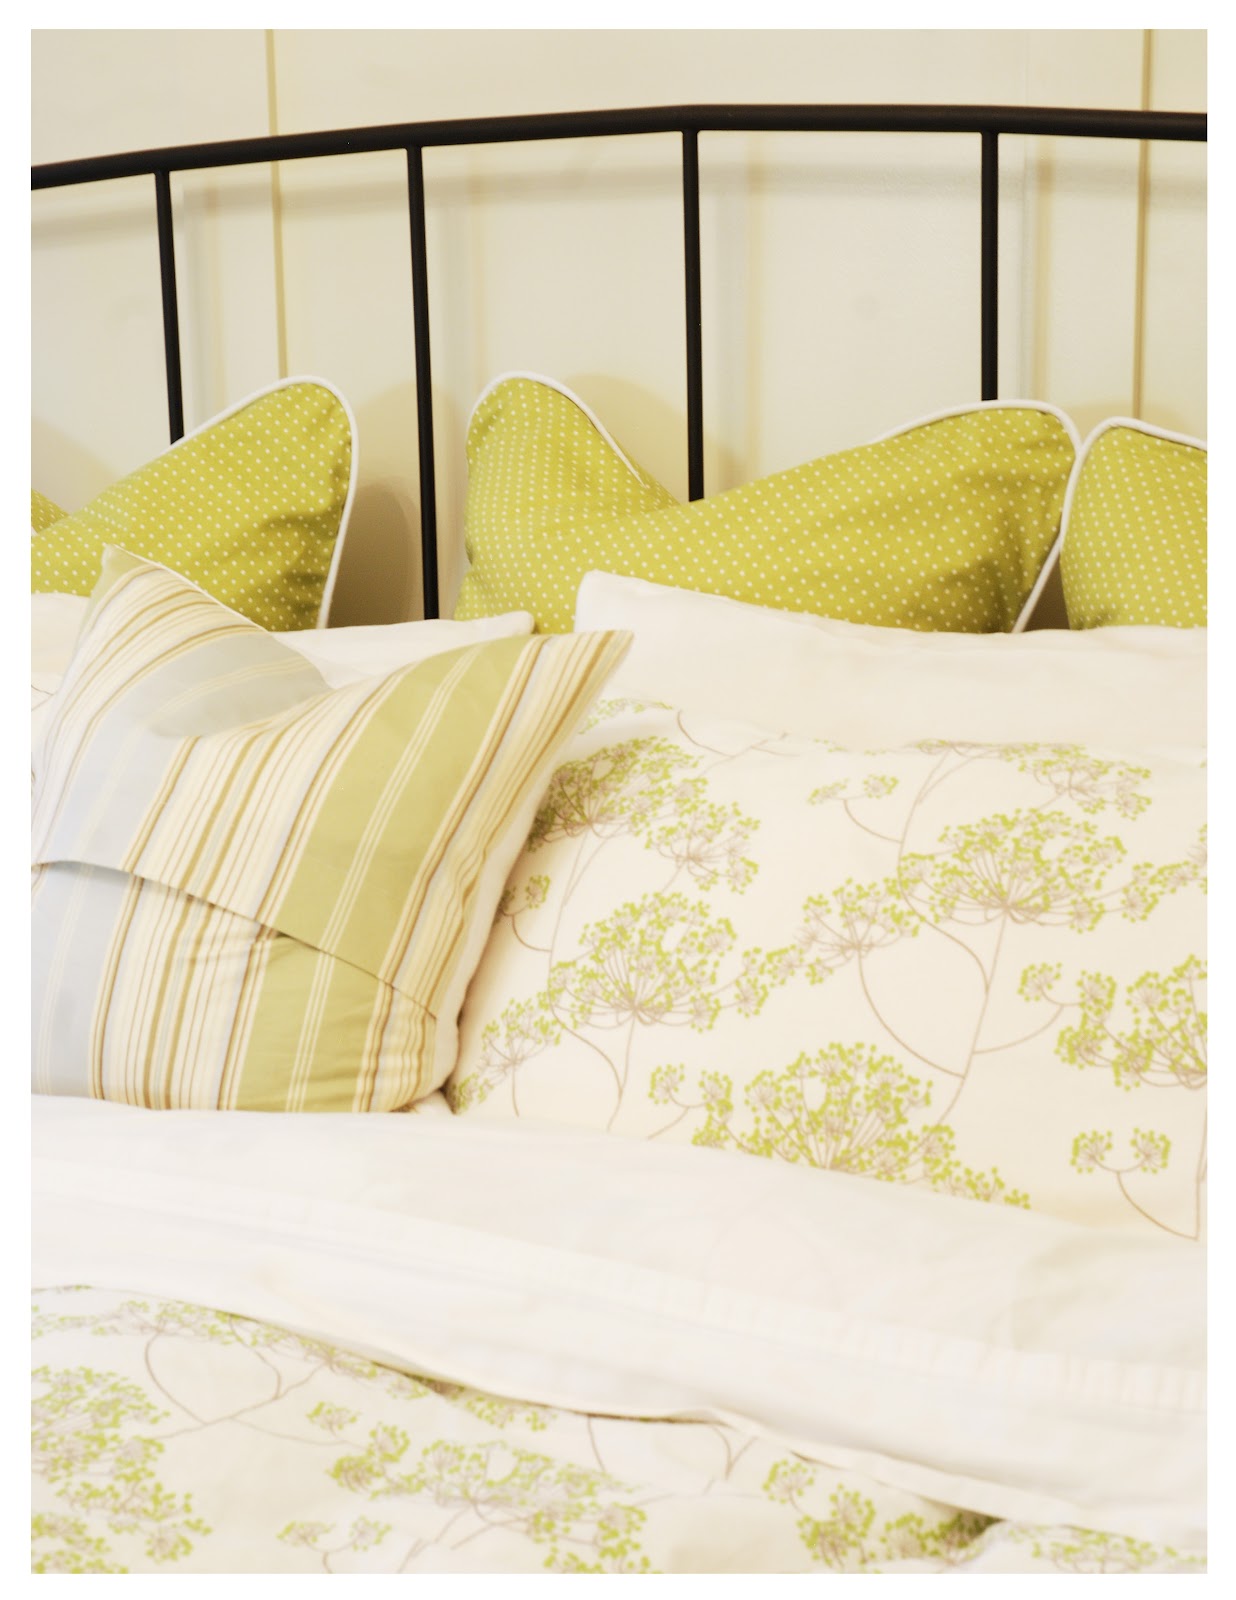
If you've followed our envelope pillow case tutorials before, then your set. If you haven't you'll need to start HERE, then comeback.
So once you've cut your fabric, here's what you do:
1) Lay your front piece right side up.
2) Sew your piping (just wrap your thin strip of fabric around your cord and sew as close to the cord as possible).
3) Lay your cord on top of your fabric. Making sure the cut end is facing out.
4) Add your two top piece right side down (making sure there's an overlap) and pin in place!

Lots of Love.


Thank you for this! I've always LOVED the finished and custom look of piping but was intimated to try it. I've used your pillow cover tutorial several times, now I think I have the courage to tackle piping!
ReplyDeleteThose pillows are adorable! I love the look of the layered patterns and pillows. Props to you for doing the piping -- I've done a lot of piping (reupholstered a set of pillows for a set of wicker furniture). It makes it look so finished, but it is a lot of work. I would recommend using bias tape rather than regular fabric -- it is more flexible when the piping is sewn into the pillow. You can also find online tutorials for making your own bias tape out of any fabric you like. It is time-consuming, but worth it if you want piping in something other than the bias tape sold at the fabric store.
ReplyDeleteLove reading your blog. I'm inspired to try keeping mason bees and organic lawn care one of these days
They look fantastic. I hate working with piping!! I do agree with the previous comment, using the bias tape is easier. I never tried making my own because I always thought you had to cut your fabric on the bias to get it to work properly.
ReplyDeleteActually where it is good that converted easily in different shape or size on the other side this factor work as the negative point.
ReplyDeleteYou did such a great job.....I needed this post because I love piped pillows, but I've always been a little intimidated with the piping.
ReplyDeleteI don't sew and sort of made the decision that I probably won't start but hire people such as you to do it for me :) I am just loving the cheerful yellow you have been using.
ReplyDeleteSomeday...I'm going to break out the sewing machine and attempt piped pillows. Or not (smile). Your's look great and love the super handy tutorial. Thanks for making it look less intimidating.
ReplyDeleteBernadette
www.b3hd.blogspot.com
I love your blog and I'm so glad I came across this post. I just bought a new sewing machine and will make my first cushion covers.
ReplyDeleteLove your blog!! Where do you get your fabrics?
ReplyDelete